Project Guide
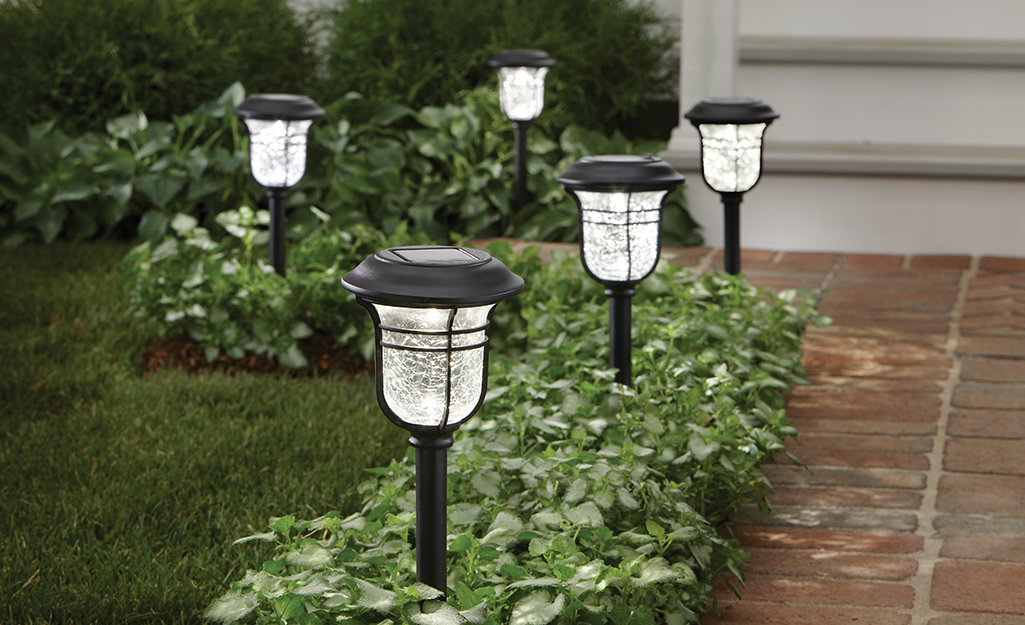
How to Install Solar Outdoor Lights
If you’re eager to enjoy your garden or yard for longer in the evenings, or you simply want to ensure a safe walk through your outdoor areas at night, good lighting is key. For those looking to be more energy-efficient and sustainable at home, solar lights are a fantastic option for your outdoor setup. Unsure about how to install them? No worries! We’re here to walk you through the setup process step by step.
What You Need
Before we dive into the installation process, let’s ensure you have everything you need.
- Outdoor Solar Lights: The star of the show! Choose styles that best suit your space and needs. If you’d like lights for pathway, we’d recommend the Hampton Bay Laurelview. For display needs, try the Adjustable Beam Spotlight, also from Hampton Bay.
- Drill: For a more secure installation. Don’t have one? Stakes and a rubber mallet will work fine.
- Optional: Compass, Measuring Tape
Before You Start
Once you choose your solar lights, be sure to read the manufacturer’s guidelines for instructions and other important information. Once you’ve read through them thoroughly, assemble the lights according to the instructions. Once assembled, put your lights in a sunny spot so they can begin charging – and allow you to find any defective lights before you start. Give your lights at least 12–14 hours to fully charge.
Choosing the Perfect Spot
The right location is crucial for your solar lights. They need ample sunlight during the day to light up your nights effectively. Here’s how to pick the perfect spot:
- Sun Exposure: Ensure the chosen area gets plenty of sun for your solar lights to charge properly. Since it’s currently winter, that might be difficult to find, but a compass can help you figure out the best spot. Since the sun is typically strongest during late morning to late afternoon hours, you’ll want to point the compass and solar panels mostly south. If you have other trees that may block midday sun, it’s best to aim the solar panel more west than east to optimize the stronger sun hours.
- Purpose: Consider what you’d like to illuminate. Are you trying to make it easy to find the garden path? Or would you like to show off your water feature or illuminate trees or lawn ornamentation? Questions like these will help you determine where to place your lights.
- Practicality: Consider spacing your lights in such a way as to keep from obstructing lawn maintenance and play areas if you have kids.
- Eco Actions Tip: Light pollution can wreak havoc among nocturnal animal populations by interrupting internal rhythms, pulling migratory birds from their paths and even interfering with human circadian rhythms. As a DarkSky-approved retailer, The Home Depot encourages choosing spots that minimize light pollution to protect nocturnal wildlife and choosing products that are DarkSky-approved.
Marking and Installing
Now that you’ve chosen the ideal spots, it’s time to get hands-on:
 Marking: Use marking spray paint or place temporary stakes to outline where your lights will go. If you’d like to be precise, feel free to use a measuring tape. Think about the type of lighting you want – soft and spaced apart for ambiance or closely spaced and focused for display.
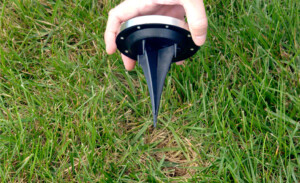
- Prepare the Ground: Use your drill or a hammer and stake to create a hole for each light. This will keep it stable in windy or rainy conditions. If the ground is too hard, consider adding a little water to help loosen soil.
- Installing the Lights: Place your solar lights in the holes you’ve made.
- Functionality Check: Turn them on to ensure they’re working correctly when the sun goes down. Be sure to check the product information for further instruction.
Enjoy Your Illuminated Outdoor Space!
Congratulations! You’ve successfully installed your solar lights. Now sit back and enjoy the beautiful illumination in your outdoor living spaces without adding a cent to your electric bill. These lights add charm to your home and contribute to a sustainable lifestyle.
Tools
- Compass
- Drill
- Measuring Tape
Materials
- Outdoor Solar Lights