Project Guide
How to Make Your Own Cleaning Wipes
Keeping surfaces clean is a great way to eliminate germs, and learning to make your own cleaning wipes can ensure you’re always prepared. This guide will show you how to make single-use cleaning wipes using 91 percent concentrated isopropyl alcohol. A few things to keep in mind: We encourage you to make and use these wipes in well-ventilated areas, wear rubber gloves while making them and store them out of children’s reach. Isopropyl alcohol is a powerful chemical that kills bacteria and viruses, so you’ll want to be careful when handling it.
1. Gather Supplies
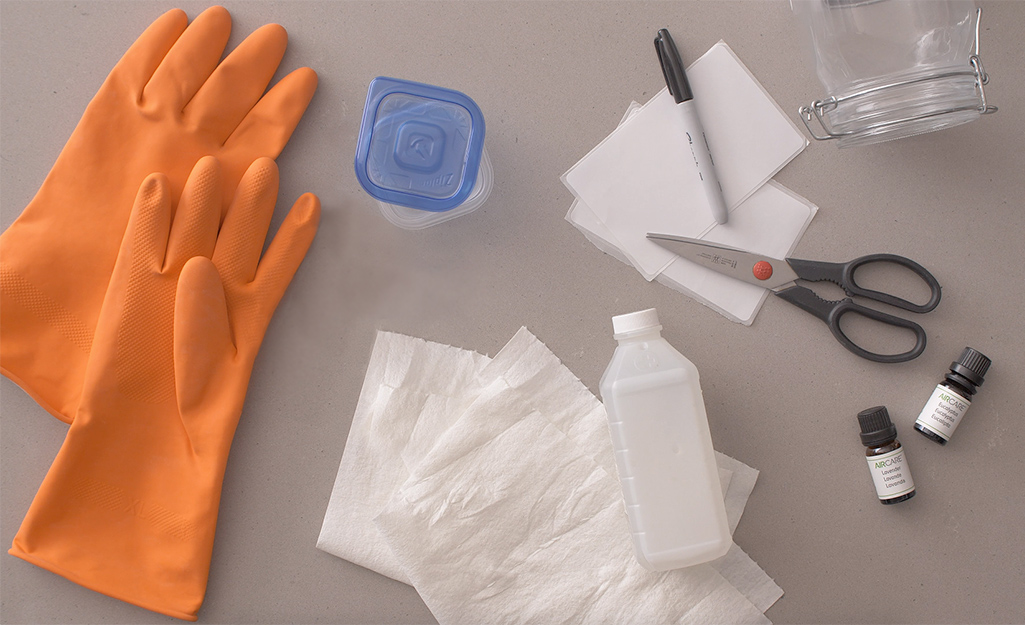
Working in a well-venilated area, such as your kitchen, clear the countertop and gather supplies. For this quick DIY project, you’ll need:
- Disposable rags
- Scissors
- Rubber gloves
- Isopropyl alcohol (91 percent concentration)
- Water
- Essential oils
- Small plastic container (for travel wipes)
- Zip-top freezer bag (for travel wipes)
- Glass container (to keep at home)
- Labels
- Marker
- Measuring cup
2. Measure Alcohol
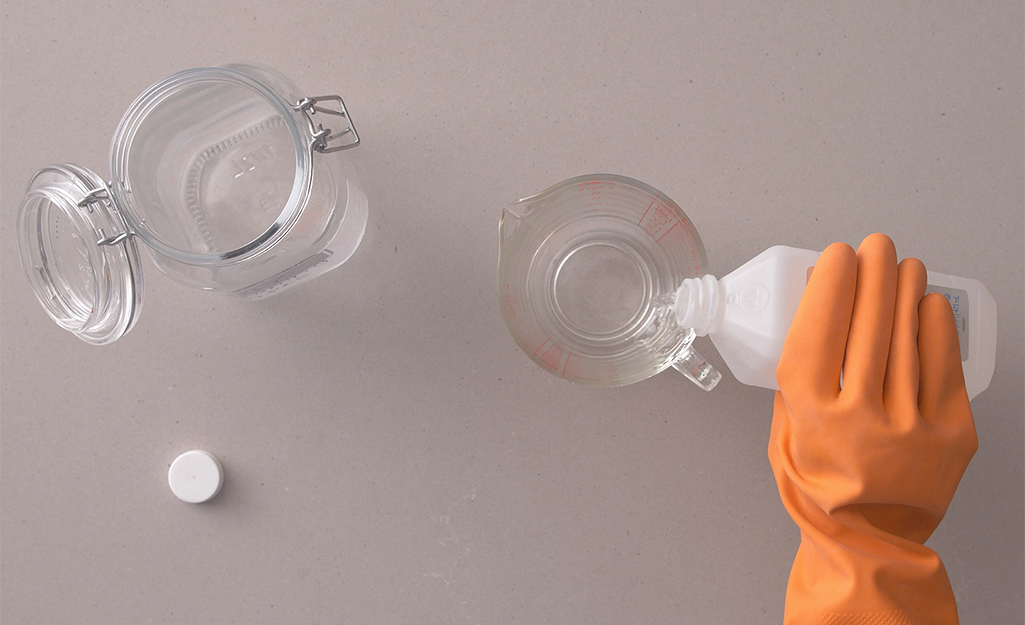
- Once you’ve put on your rubber gloves, it’s time to mix up the cleaning solution.
- Measure and pour 1 cup of 91 percent isopropyl alcohol into the jar or canister.
3. Dilute with Water
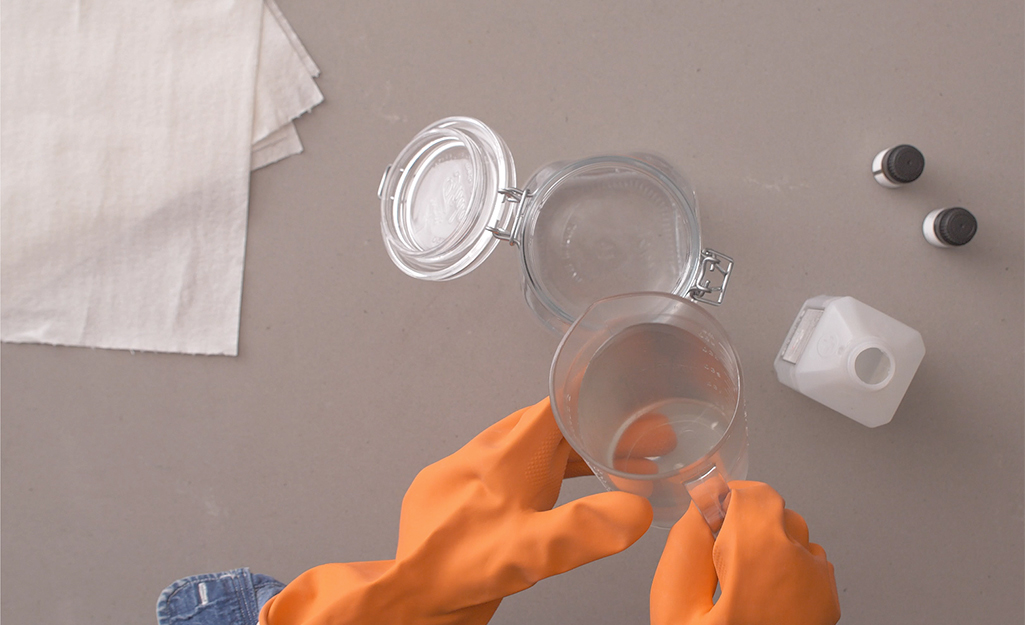
- Next, add 1/3 cup of water. This will dilute the alcohol. When using 91 percent alcohol, you’ll want to use a ratio of 3 parts isopropyl alcohol to 1 part water.
- If you’d like to add a scent to the mixture, a few drop of essentials oils or dish soap will work.
Note: If you are using 70 percent ispopropyl alcohol, there will be no need to dilute. Simply use one cup of the alcohol.
4. Prep Rags
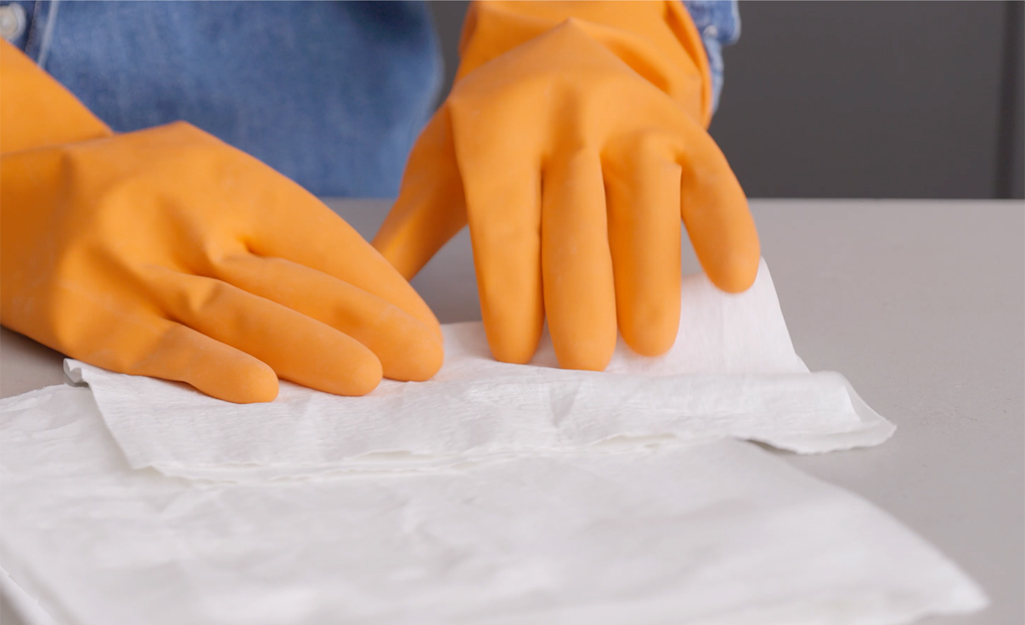
- Gather your cleaning rags, or fabric scraps, if available.
- Fold each rag in half so they fit nicely in the jar with the solution. We recommend 15 to 20 rags per batch.
5. Combine Rags and Solution
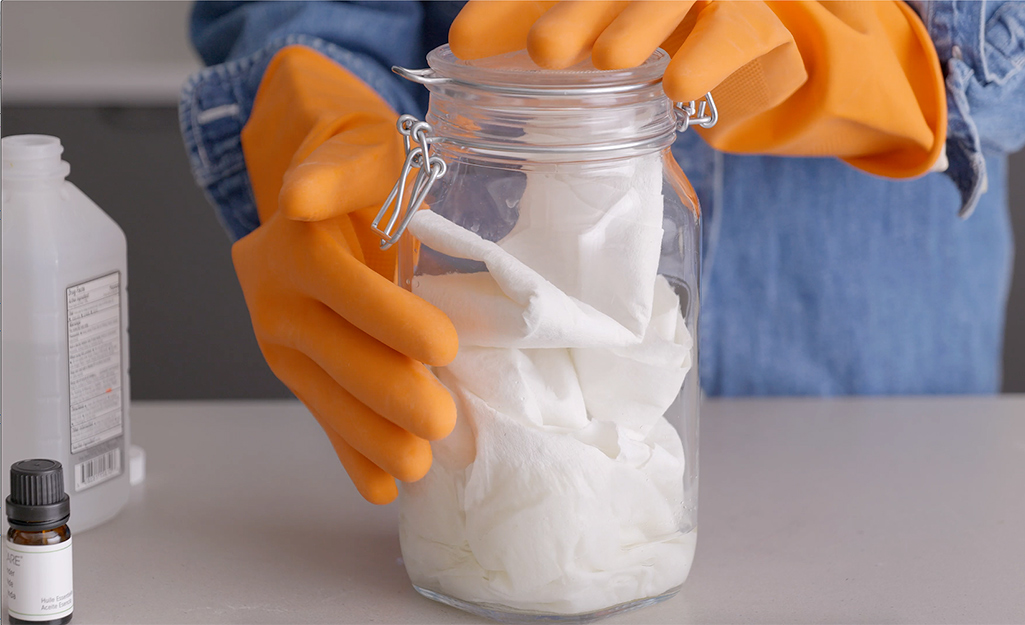
- Place the folded rags into the container.
- Fasten the lid onto the container and gently shake to saturate the wipes in the solution.
- Let the wipes soak for at least 5 minutes, flipping the container to ensure the wipes on top are saturated. You may need to wring them out before use.
- Refresh the solution in the container every few days. Dispose of the cleaning wipes after one use.
6. Make a Batch for Travel
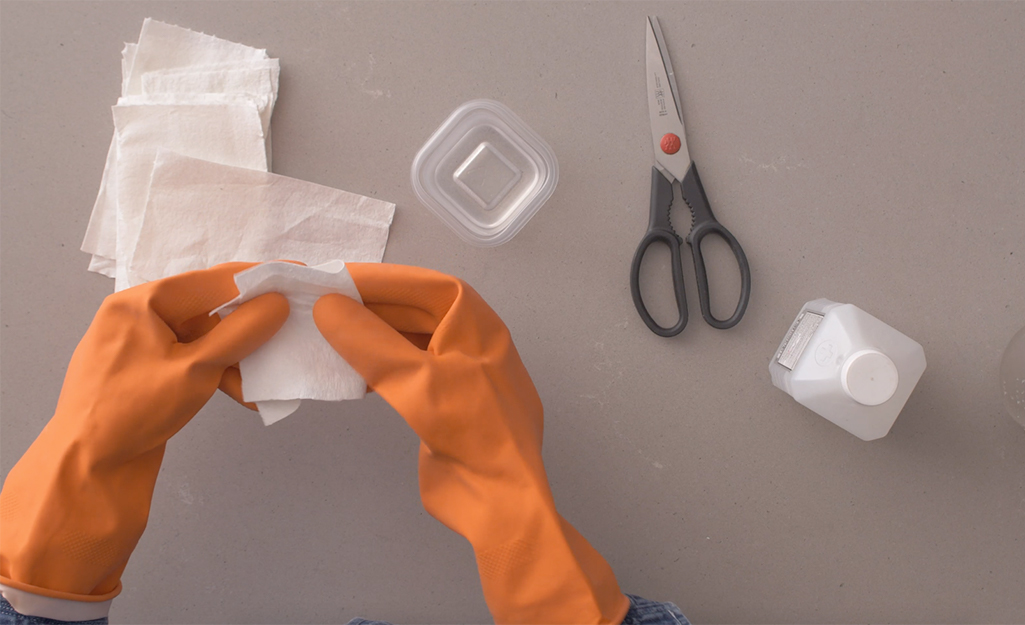
Cleaning wipes are a key item to have with you while you’re grocery shopping, getting gas or traveling.
- For on-the-go sizes, pour a bit of your already mixed solution into a small plastic food storage container.
- Cut rags in half with scissors to create smaller travel-friendly wipes (they should be around 5-inch x 6-inch). Add them to the small container and flip the container so the solution can be soaked in.
7. Label the Container
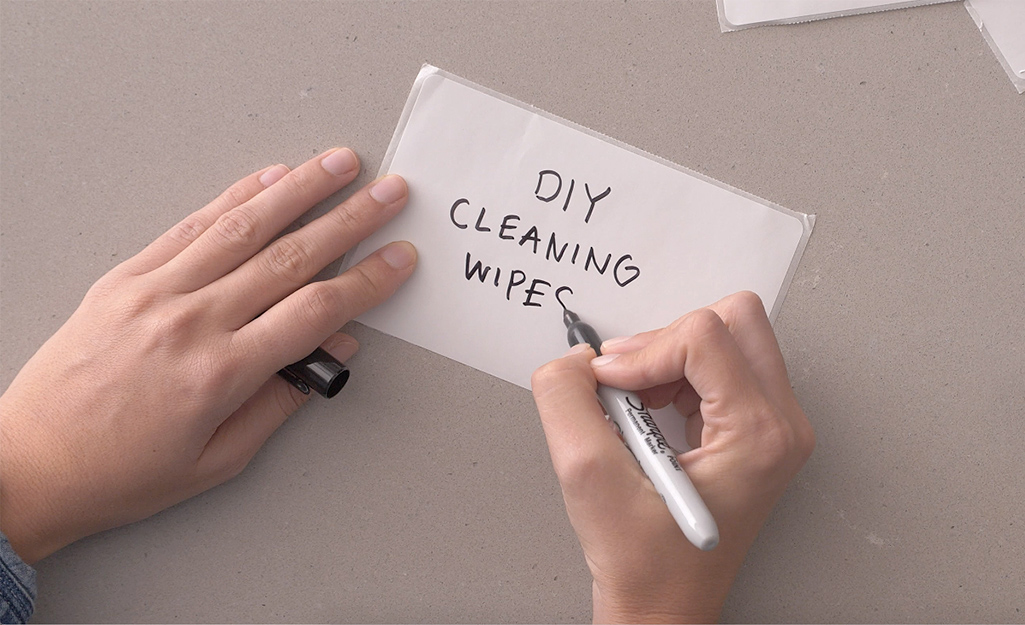
- Because you are using food storage containers, it’s important to label the cleaning wipes accordingly.
- Using a permanent maker and labels, be sure add an easy-to-read label to each batch.
8. Use at Home or On the Go
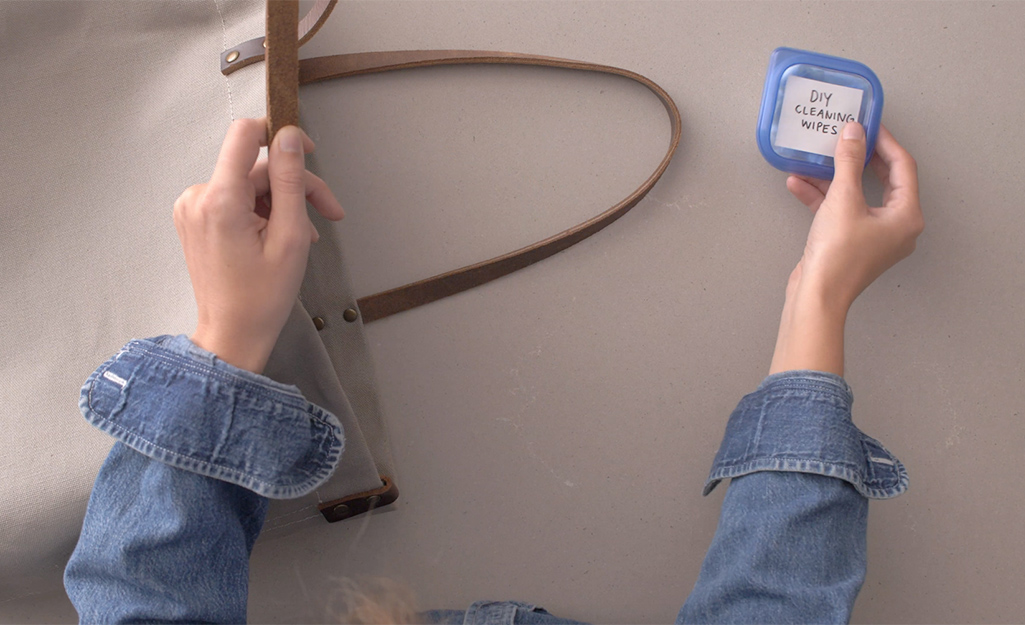
- In addition to keeping your home surfaces clean, these wipes are also ideal for keeping in your purse, backpack or carry-on when traveling.
- Simply store in a freezer bag for extra portability.
Keep your supply stocked by learning how to make your own DIY cleaning wipes. With the right supplies and simple instructions, you can freshen up any surface easily. The Home Depot is your DIY headquarters. Looking for a product to complete your project? We have options to deliver online orders when and where you need them.
