Project Guide
Fix That Leaky Faucet and Save Water
Perhaps the easiest way to save water is not to waste it in the first place. If you have a leaky faucet, you could be wasting more water than you think. According to the US Environmental Protection Agency’s WaterSense program, household leaks can waste approximately 900 billion gallons of water annually nationwide. To put that amount into perspective, that amount is equal to the amount of water needed for 11 million homes.
Fixing a leaky faucet is quick and inexpensive; even the most amateur DIYer can tackle this task.
The most common sources of a leaking faucet – a worn out washer or gasket, a loose O ring, corrosion in the valve seat – can be detected and fixed easily with most faucet repair kits. Damaged or deteriorated faucet parts are the leading cause of leaks in bathroom, shower and kitchen faucets, especially if you have an older one in your home.
This guide shows you the DIY steps to repair a leaky faucet.
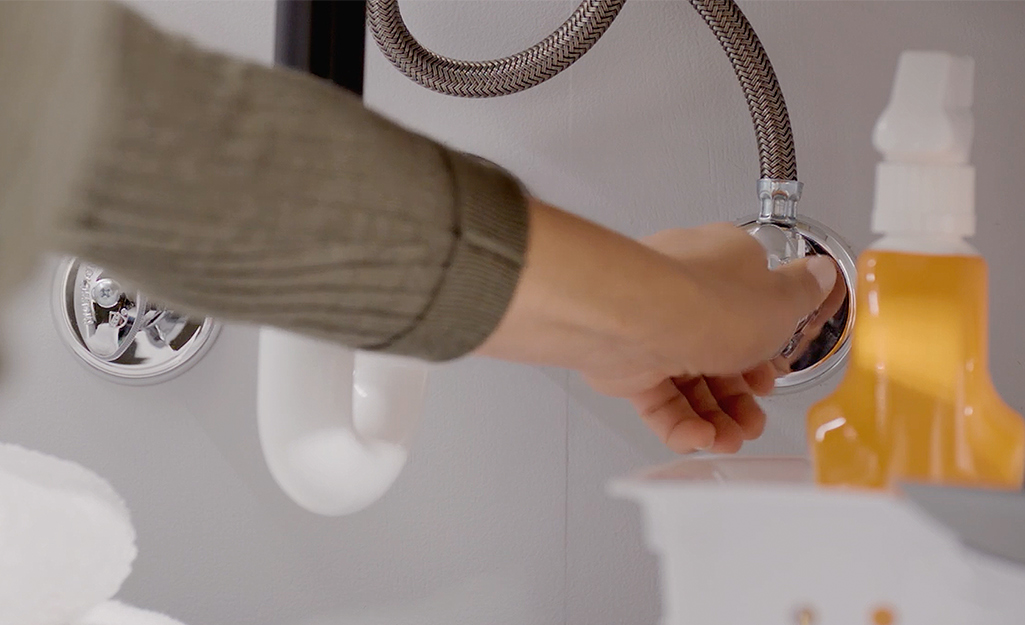
1. Shut Off the Water
The type of faucet in your kitchen or bathroom may be a single or double handle, has a modern pull-down wand design or is a twisting ball faucet on your shower or tub. Before you begin to fix a dripping faucet, your first step is to shut off the water supply.
- Twist the valve under your sink to turn off the water supply. If there aren’t individual shutoff valves under the sink, shut off the water supply for the house.
- Turn on the faucet and leave open to allow the remaining water in the line to empty into the sink.
Tip: Insert a sink stopper or cover the sink opening with a towel to prevent tools from falling down the drain.
2. Remove the Handle
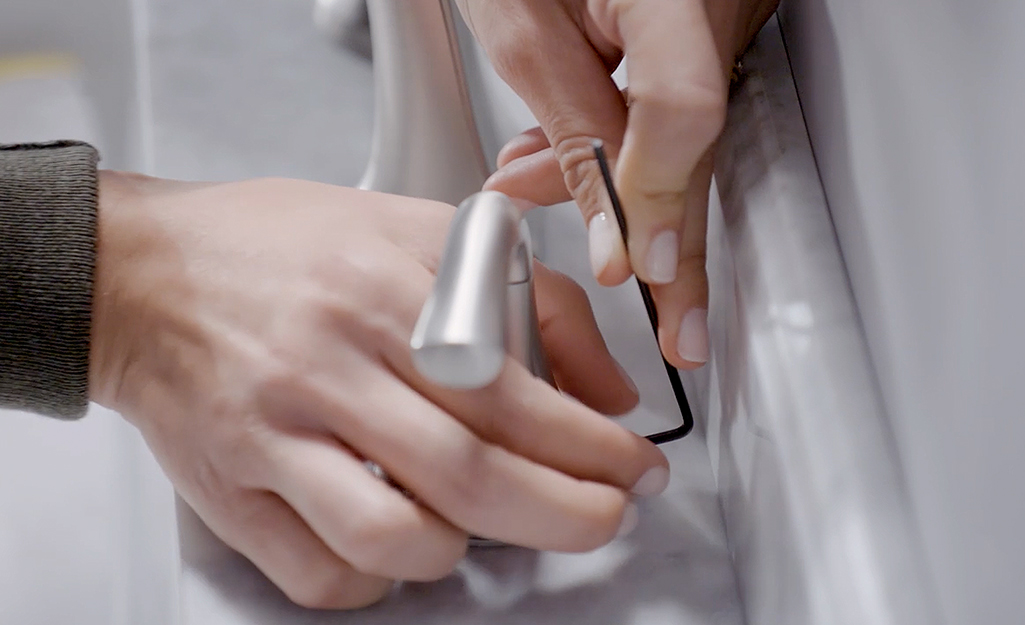
How you remove the faucet handle depends on your faucet type.
- If there is a set screw behind the handle, insert a hex key or Allen wrench into the screw and turn it to remove.
- If the handle has a top screw cover, pry it off with a flat screwdriver and set aside. Then, use a Phillips head screwdriver to loosen the screw underneath the cover.
- Pull the handle free.
Removing the handle of a leaky shower faucet or bathtub faucet requires a bit more work.
- If the handle has a cap, remove it with a flat head screwdriver. Use a Phillips screwdriver to unscrew the handle.
- Remove the faceplate behind the handle from the shower wall. If it has threads, unscrew the faceplate from the wall and remove it.
- Find the metal sleeve over the shower valve. Pull it off or unscrew it.
- If the shower valve has a locking clip, pry it off with needle nose pliers or a screwdriver.
3. Remove the Cartridge or Stem
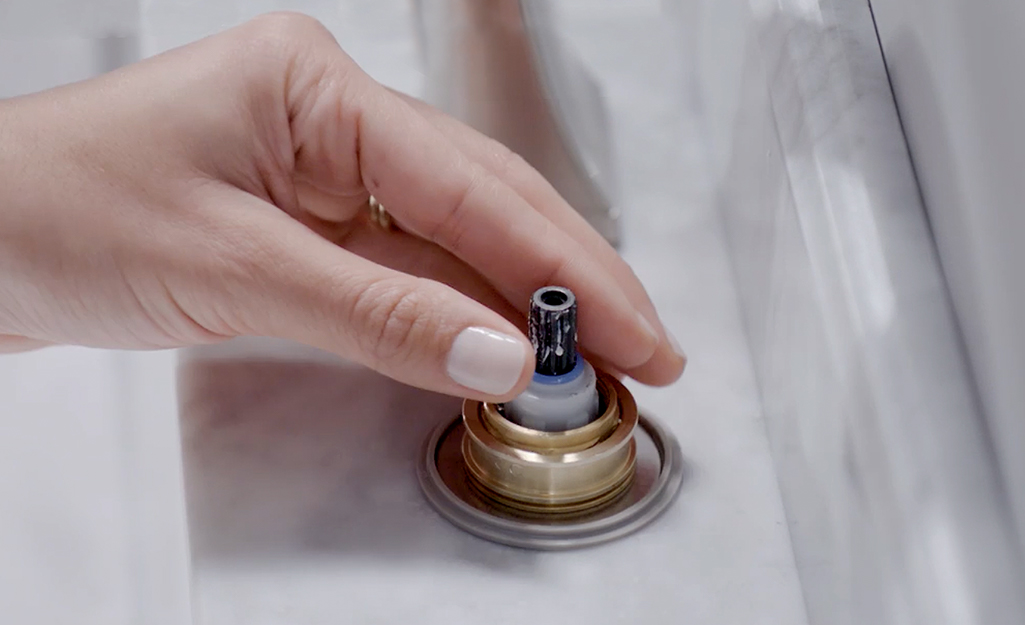
The faucet cartridge or faucet stem is found in most two-handled kitchen and bathroom faucet styles. This is the part that regulates the flow of hot and cold water.
- Using a wrench, loosen the packing nut in the handle assembly, then remove and set aside.
- Gently pull the part straight up and out of the assembly.
4. Install New Cartridge
Now that you’ve inspected the cartridge or stem and identified it as the source of your dripping kitchen faucet or bathroom faucet leak, you’ll have to replace it.
Cartridges and stems come in many shapes and sizes, and the easiest way to find the right replacement part is to know the name of the faucet’s manufacturer and the faucet’s model number. If you’re not sure, take the old cartridge or stem you’re replacing to the store so you can use a reference guide to match it to the exact cartridge you need.
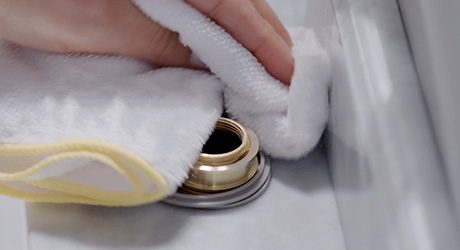
- Clean and dry the area around the handle and all the parts with a cloth.
- Inspect the O-rings around the housing. Replace any that look damaged or worn.
- Insert the new cartridge or stem, making sure it is aligned correctly.
5. Reattach Faucet Handle
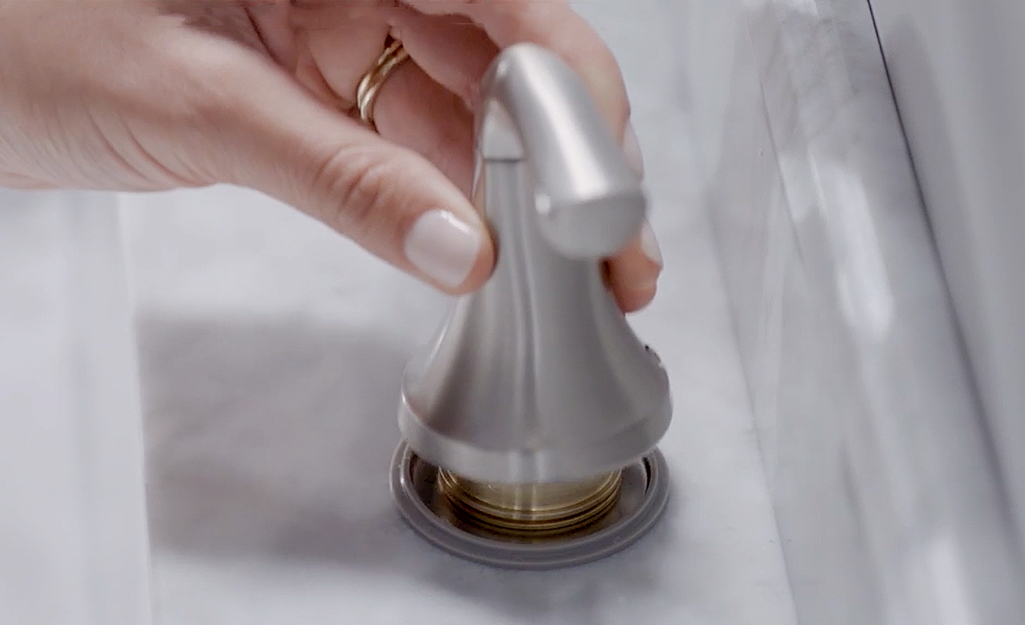
Once you’ve installed the new cartridge or stem, return to the previous steps and reattach the faucet handle. Turn your water line back on and remove any debris or towels from your sink.
Run both hot and cold water through your faucet few for a few minutes to ensure your aerator isn’t clogged. The aerator is the piece that screws onto the end of the faucet spout. It can be easily removed and cleaned if buildup is hindering continuous water flow.
When you know the type of parts make up your faucet hardware, you’ll know how to classify your faucet. Fixing a leaky faucet takes some of your time and effort, but it is essential to have the right tools for plumbing repair or faucet replacement. Download The Home Depot Mobile App to shop for the materials you need to fix that leaky faucet at home.
