Project Guide
How to Install a Tankless Gas Water Heater
Tankless water heaters are a compact, energy-efficient way to supply hot water to your home. This guide outlines how to install a tankless gas water heater. Tankless gas water heaters with sealed combustion (air and flue piped directly to the outside) can often be installed in a garage, attic or basement, but it is best to check with your local building code to ensure there are no local prohibitions.
1. Upgrade Your Gas Line
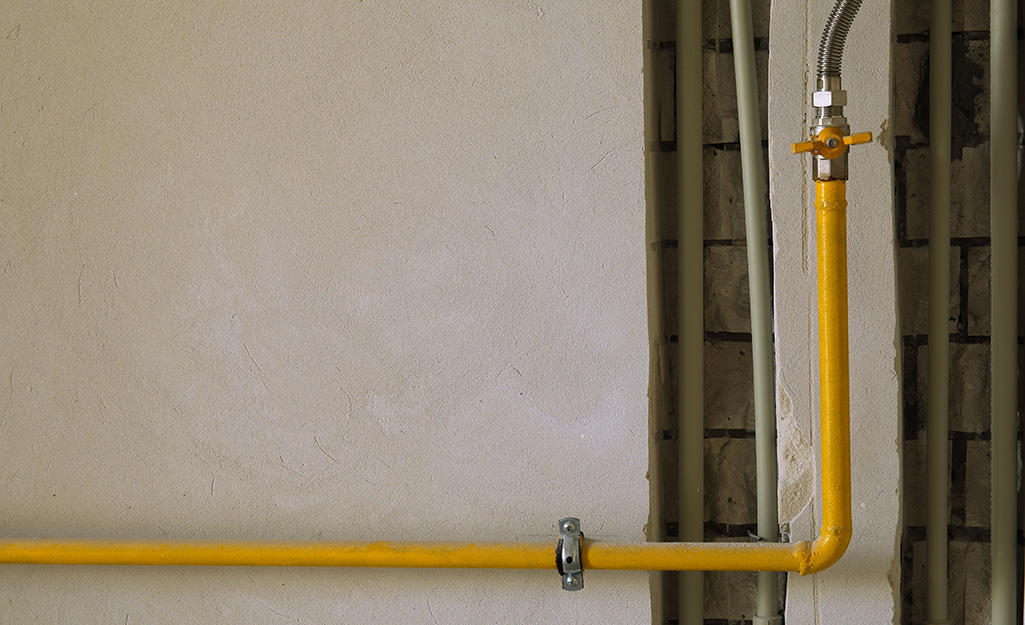
Storage water heaters hold water in a tank and use more energy to maintain temperature throughout the day. Tankless water heaters provide hot water on-demand. Gas units require a gas line, adequate combustion air, a vent to remove combustion gas and an electrical outlet to power the unit. While they last longer than tank-style water heaters, they are more costly to install and often require upgrading your gas line.
Learning how to install a tankless water heater is a difficult and sometimes dangerous process. We highly recommend having a professional handle this task. Follow all local plumbing and electrical codes when sourcing and installing parts for your new water heater. Local codes can vary.
Since they heat water on demand, tankless water heaters require more gas when they fire on than a water heater equipped with a storage tank. They may require more gas than large home furnaces. This energy is measured in British Thermal Units (BTUs) per hour. A water heater tank might have a 30k BTU/H input, whereas a tankless may need 90k to 130k BTU/H.
For this reason, it is likely that you will have to run a newer, larger gas pipe from your gas meter to feed your new tankless gas water heater. In most cases, you’ll have to jump up two sizes – from 1/2-inch to a 1-inch line. Increasing the gas line from your gas meter should be handled by a licensed contractor.
Measure the space you have available for your water heater carefully so you can accurately judge what size water heater will fit.
2. Remove the Old Water Heater
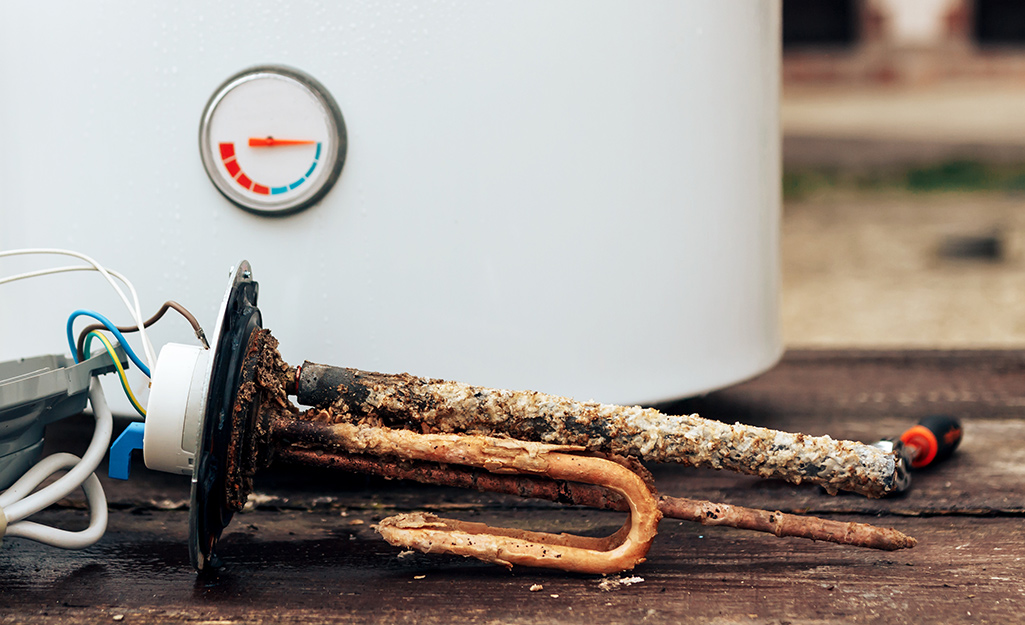
If you’re installing a tankless gas water heater and have already verified or upgraded the gas line, skip this step. If you’re replacing an older water heater tank, start here:
- Turn off the water supply to the water heater. If it doesn’t have a shut-off before the unit, turn the main water supply off.
- Turn off the gas supply valves to the water heater and any power that may be feeding the unit.
- Drain the old water heater. If draining hot water, use a hose rated to withstand heat. The hot water in your tank will damage a typical garden hose. Open a hot water faucet to release pressure in the system and allow it to drain fully.
- Disconnect the water heater from the water lines and gas line. The gas line will likely contain a union fitting which allows for easier replacement. Disconnect the water lines that run from the top of the water heater. There should be one supply line and one feed line to the rest of the house.
- Dispose of your old water heater. Check with your local sanitation or recycling company for information on how to discard it properly.
3. Mount the Water Heater
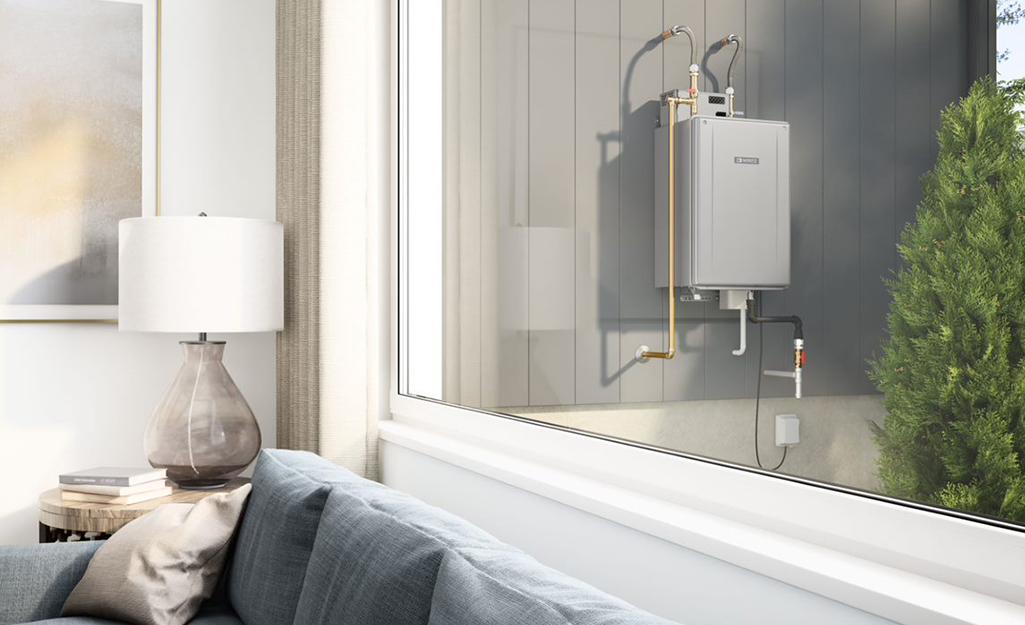
Tankless gas water heaters are direct-vent only. This means they need to be piped directly to the outside and not through a chimney. Due to their efficiency, the flue gas temperature on a tankless system is too low to vent through a conventional masonry chimney. Oftentimes you can vent the unit directly through the rim joist of the home. You’ll do this using pipe rated for this application. Follow the manufacturer’s guidance on how to vent your new water heater unit.
- Choose a location for the new water heater that will allow you to vent it to the outside easily. Follow the manufacturer’s installation instructions to ensure that you have the proper clearances all around. Make sure your vent location follows local code regulations. This includes minimum distances from windows, doors and other considerations.
- Build a mounting box out of 2 x 4 lumber and 3/4-inch plywood that will allow you to mount the new tankless water heater about four inches out from the wall. Make the box sturdy enough to hold the weight of the unit. Secure it to the basement wall using the appropriate masonry anchors for your foundation wall.
- Mount the tankless water heater securely to the mounting box per manufacturer’s specifications.
4. Install the Gas Line
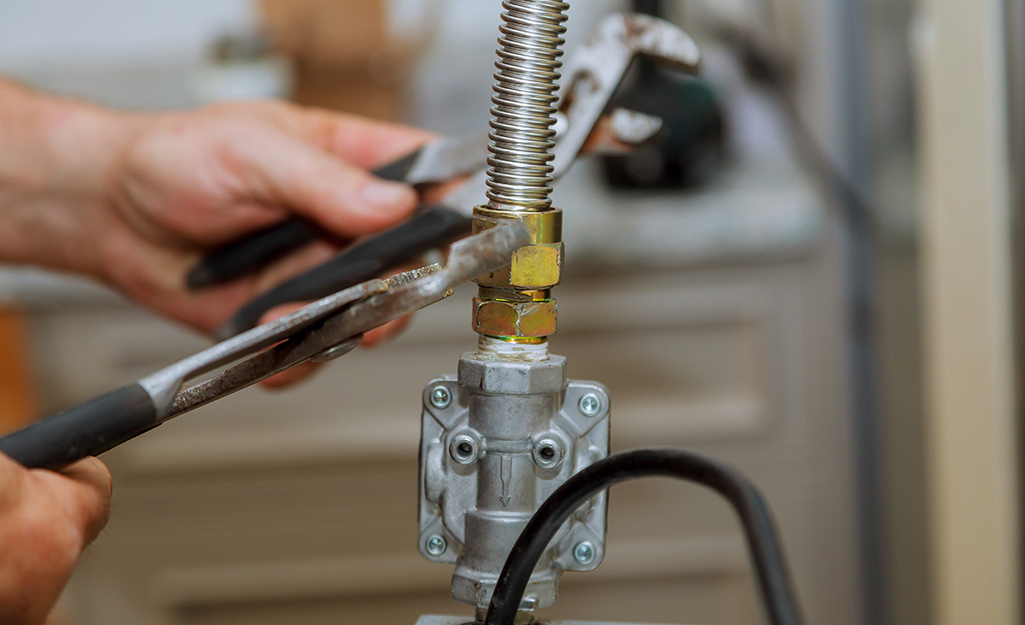
If you are unfamiliar with how to make gas pipe connections, hire a licensed contractor.
- If your current gas line is adequately sized, and you are able to tap into the existing tee, continue the gas line to the heater location using threaded black iron pipe. The length of pipe and fittings you need here will depend on the location of your new tankless water heater relative to the tee that you’re connecting to. If you’re installing the unit in the same place as the old water heater, you may be able to use the existing tee. Be sure to turn off the main gas line if removing the down pipe that fed the old water heater.
- Once the line is running to the unit, install a gas shut-off valve, tee and sediment trap. Connect the shutoff valve and the sediment trap to the water heater following the manufacturer’s instructions.
- Using flexible gas supply line or black pipe, run a new gas supply line from the tee to a point where it can be easily attached to the gas line of the new water heater.
When making gas pipe connections, use thread sealant designed specifically for gas lines. Using two wrenches, start at the tee and assemble the connections toward the heater. Once you make all of your gas line connections, test the line using a pressure test gauge for gas before turning on the gas. Again, gas line installation should be done by a licensed contractor.
5. Install New Water Lines
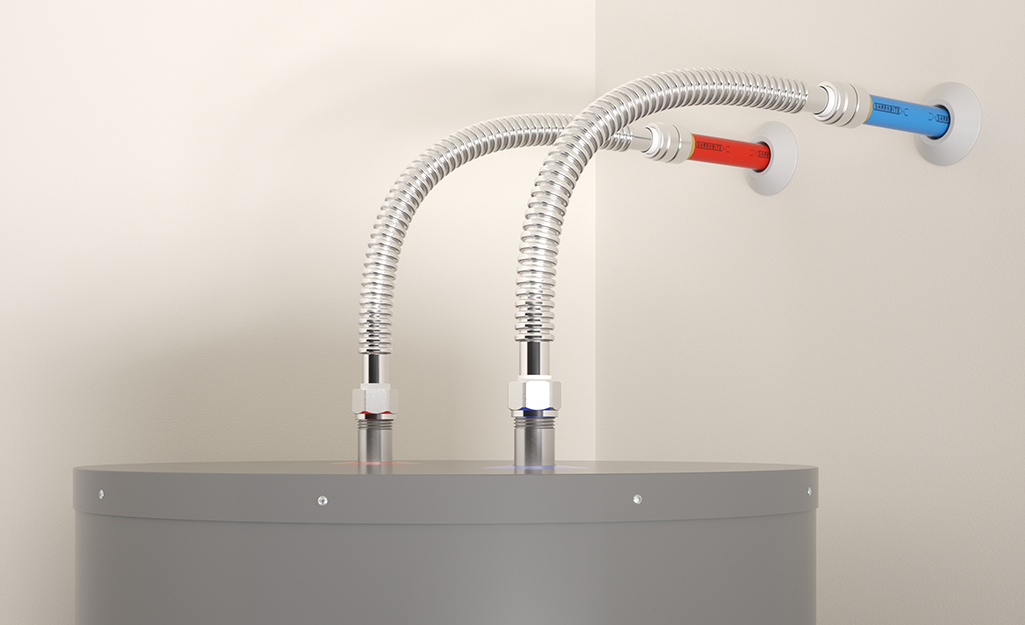
- Connect the water supply line to the water heater valves following the manufacturer’s instructions. Tie in new hot and cold water lines to the existing water lines with copper pipe. Run the lines to the new water heater. You’ll likely need to cut and solder copper piping to the unit.
- Clean the area fully with sanding cloth before cutting the copper lines. This makes it easier to clean the pipe. Also deburr the cut section using a deburring tool.
- When sweating the remaining copper sections, it’s best to dry-fit everything first.
- Once you have the pieces in place, pull the parts apart. Use a sanding cloth or a pipe fitting brush to clean the inside of each joint and the end of each section of pipe.
- Apply flux to the fittings and pipe. Assemble, and then solder using a propane torch.
- If your water system has a check valve or anti-siphon valve on the supply line, an expansion tank near the cold intake to the heater is likely necessary. See the owner’s manual for more information.
- Use bell hangers to hold the pipe securely in place against the wall. This will also make it easy to apply pipe insulation later.
6. Install the Pressure Relief Valve
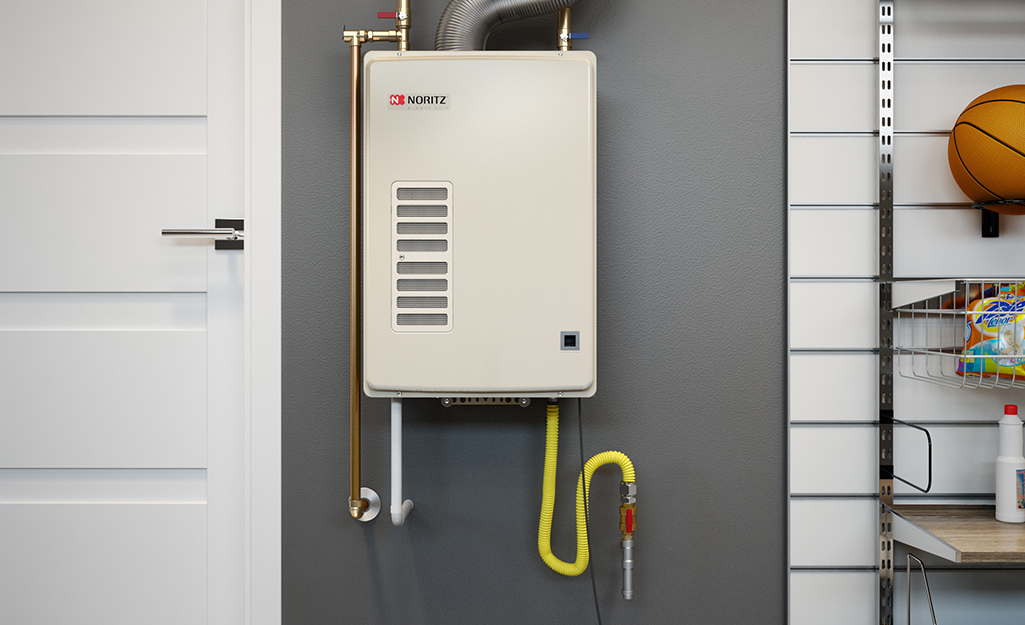
Water heaters require a pressure relief valve. This safety device will release if the pressure builds too high in the system due to water overheating. A purge valve lets you purge the system for maintenance.
- Install a pressure relief valve and purge valve per the manufacturer’s instructions.
- Turn on the water supply and check for leaks.
- Turn on the gas, bleed the line if necessary and check for leaks. After checking for leaks, turn the gas line back off until the installation is complete.
7. Install the Exhaust Vent
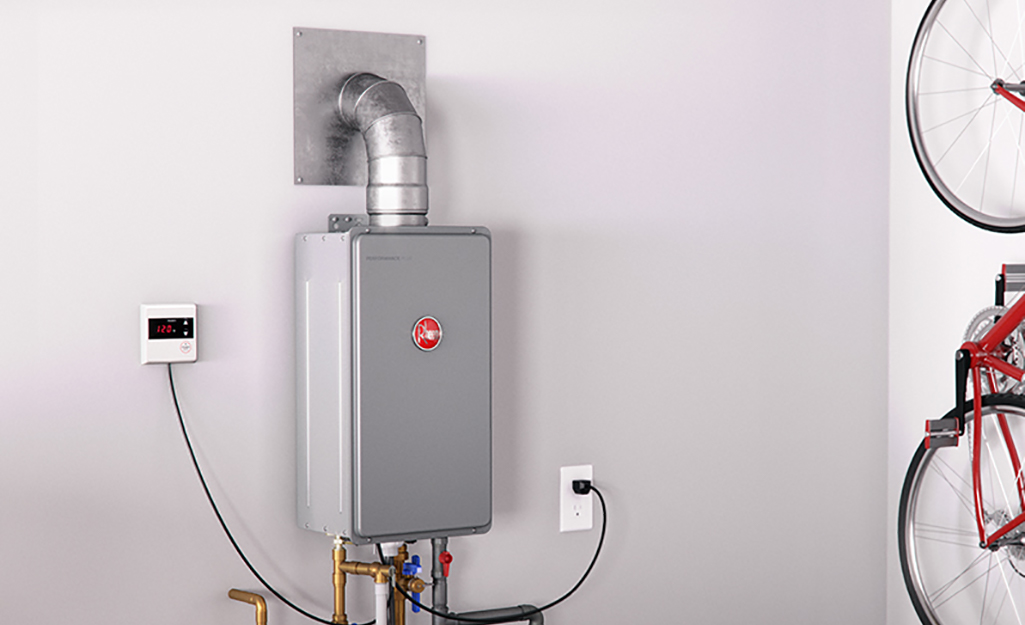
Depending on the manufacturer, you will use a vent kit when installing a tankless gas water heater.
- Apply heat-resistant silicone sealant to the vent shaft of the water heater. Slip on a connector and secure with a hose clamp.
- Slip on a section of stainless steel vent pipe. Slide on a retaining ring and fold over the taps to secure it in place.
- Slide on an elbow and adjust it so that the opening is pointing in the direction where the water heater will vent to the outside.
- Drill a hole from the inside through the joist or wall for venting to the outside. Choose a point that will be the center of the vent hole.
- Outline a circle on the outside wall using the vent thimble. Bore a 1-inch hole near the top of the circle using a spade bit.
- Cut out the vent hole with a reciprocating saw.
- Remove shingles or siding from around the vent hole. This will allow the flange thimble to rest flush against the outside wall.
- Apply silicone caulk around the edge of the flange. Insert the flange into the vent hole.
- Secure tightly with screws to the outside wall. Seal the screws with silicone.
- Install interior flange from the inside and run a section of vent pipe through the flange opening. Securing each section with the tabs.
- From the outside, connect a small section of vent pipe and connect the vent hood.
- Replace the shingles or siding that were removed from around the vent opening.
- Some models use PVC pipe for venting, but the process is similar to the instructions above.
8. Turn on the Water
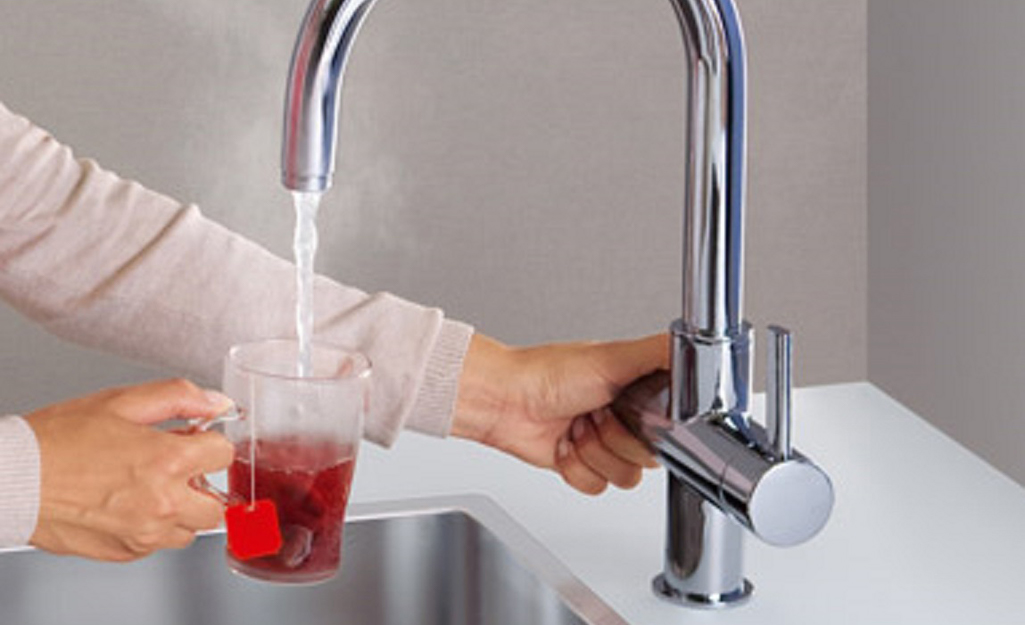
Open a faucet to full “hot” to purge air from the water pipes and heater. Turn the faucet off.
- Plug in the water heater.
- Insulate the hot water pipe coming from the water heater.
- Turn on the gas.
- Follow any specific start-up procedures provided by the manufacturer of your new water heater.
Tankless water heater replacement is a complex process that involves the skills of a highly trained technician. Unless you are experienced and comfortable enough to solder pipe, make gas connections and following local codes, hire a licensed professional. You can also save yourself the hassle with our gas tankless water heater installation services. Plumbing for tankless water heaters and removal of the old unit is included. It’s important to note that large homes may require more than one unit, and you have to wait longer for the hot water to arrive and purge cooled water in the line. Consider these factors when making the best choice for your needs.
Need help identifying a tool or material for installing a gas tankless water heater? Find products fast with image search in The Home Depot Mobile App. Snap a picture of an item you like, and we’ll show you similar products.
